Development workflows in Revolte bridge the gap between task management and code delivery. By connecting your task tracker (Jira) and Git provider, you can automate the entire lifecycle—from initial implementation to preview deployment.Documentation Index
Fetch the complete documentation index at: https://www.sunny-dev.info/llms.txt
Use this file to discover all available pages before exploring further.
Core Capabilities
Revolte provides a dual-layered approach to development automation:1. AI Agent Workflows
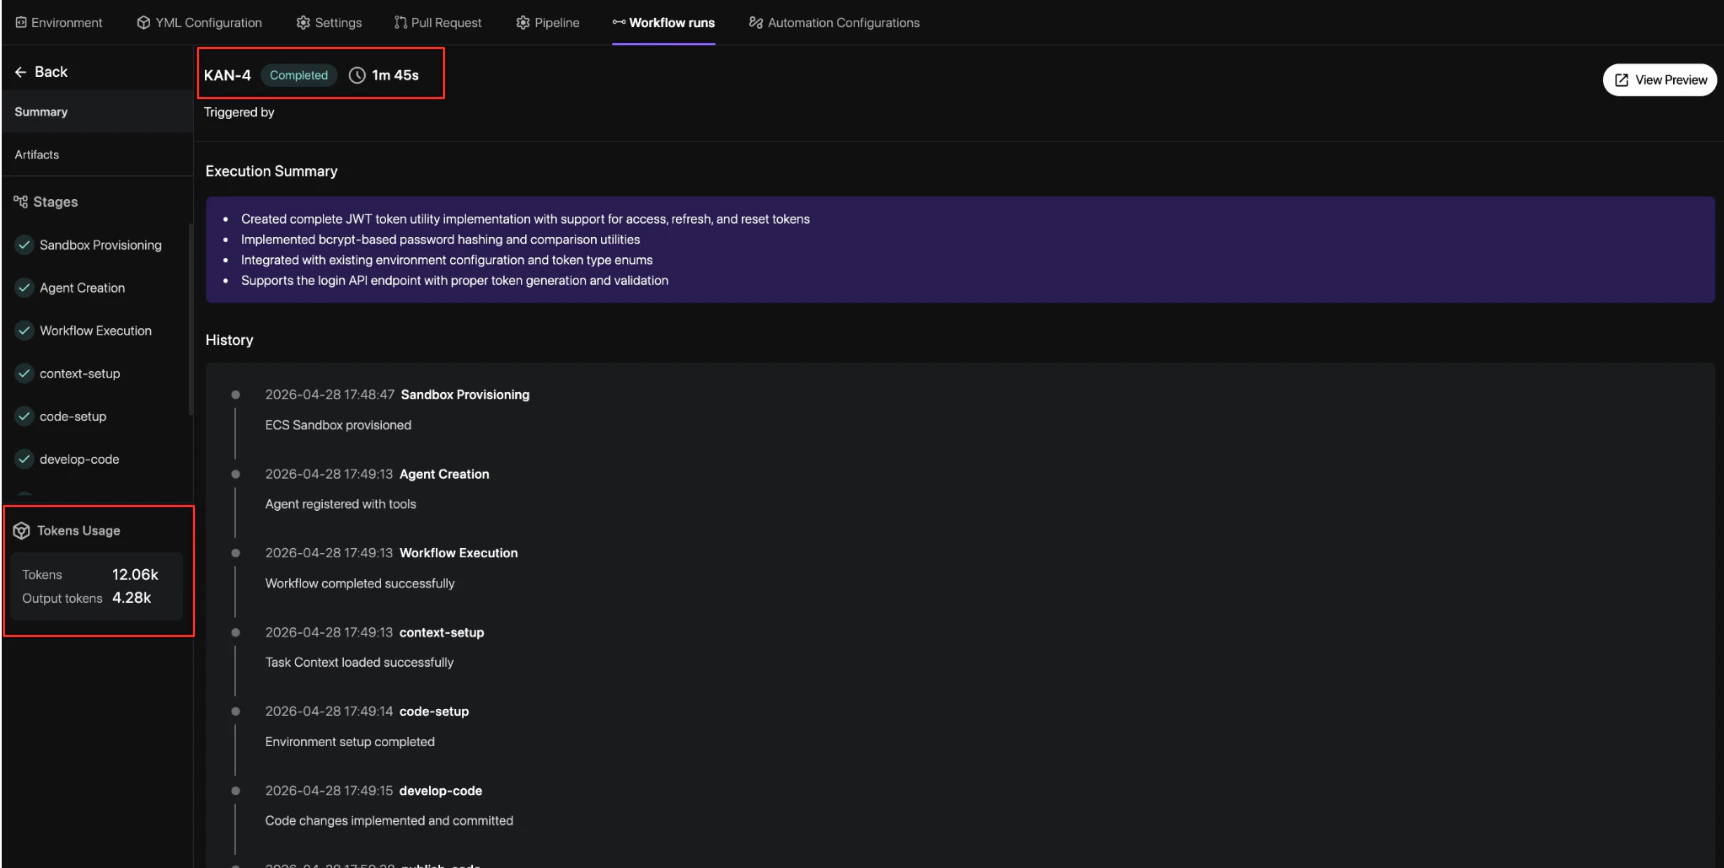
Transform Jira tickets into pull requests automatically. The AI agent analyzes your task context, generates an implementation plan, and executes code changes within a secure sandbox.- Auto-Implementation: Generate code based on Jira descriptions and labels.
- Artifact Generation: Review AI-generated implementation plans and diff summaries.
- Jira Integration: Trigger workflows directly from your task sidebar.
2. Git-Based Automation
Control the quality and speed of delivery using repository-level events and policy-driven gates.- Risk Scoring: Automatically score every PR based on file sensitivity and service criticality.
- Review Gates: Enforce approval requirements based on risk levels defined in your
revolte.yml. - Preview Deployments: Spin up isolated environments for every change to validate behavior.
How it Works
The workflow typically follows these key stages:Trigger
A task is identified in Jira and labeled with
revolte-app={app_name}. This signals the AI
agent to begin the delivery cycle.Plan & Execute
The AI agent creates a sandbox environment, analyzes the codebase, and produces an
implementation plan. It then executes the changes and validates them against your existing
architecture.
Review & Gate
A Pull Request is opened. Revolte calculates a Risk Score and applies the necessary review
gates. Higher-risk changes (e.g., database migrations) require more strict approval policies.
Next Steps
- Get Started — Follow the step-by-step guide to activate your first workflow.
- YAML Reference — Learn how to configure risk thresholds and service roots.