Documentation Index
Fetch the complete documentation index at: https://www.sunny-dev.info/llms.txt
Use this file to discover all available pages before exploring further.
Sign up
Create your Revolte account and open the onboarding flow.
Complete workspace details
Add your organization details and role so Revolte can tailor the workspace context.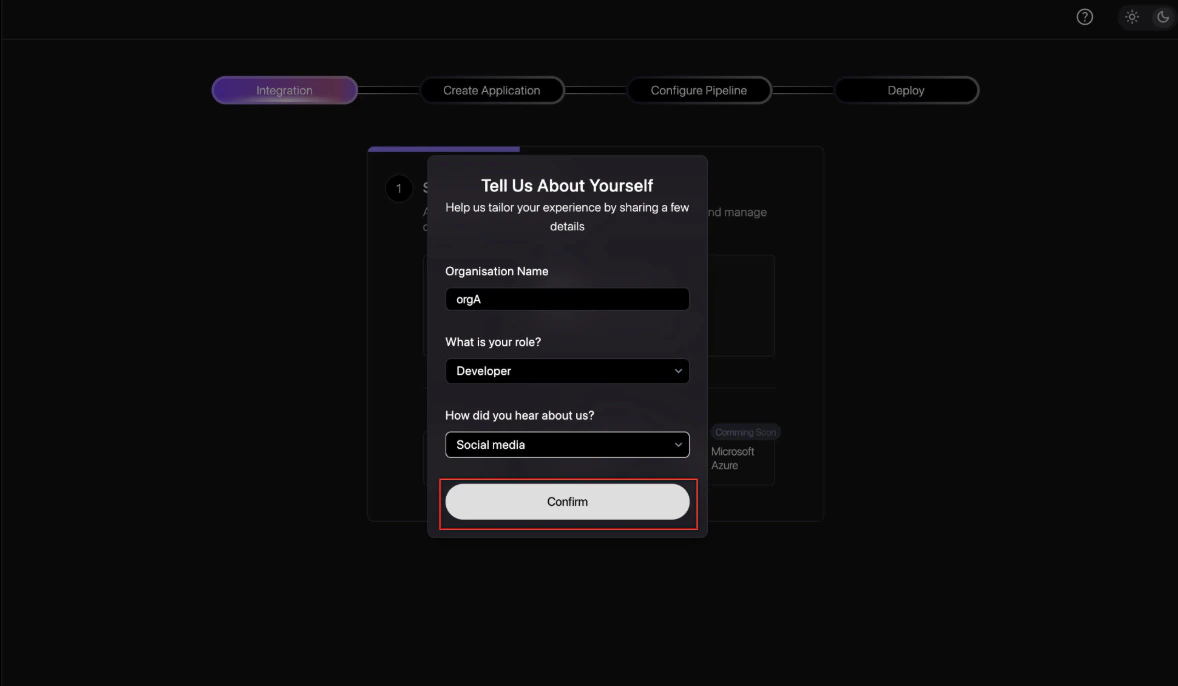
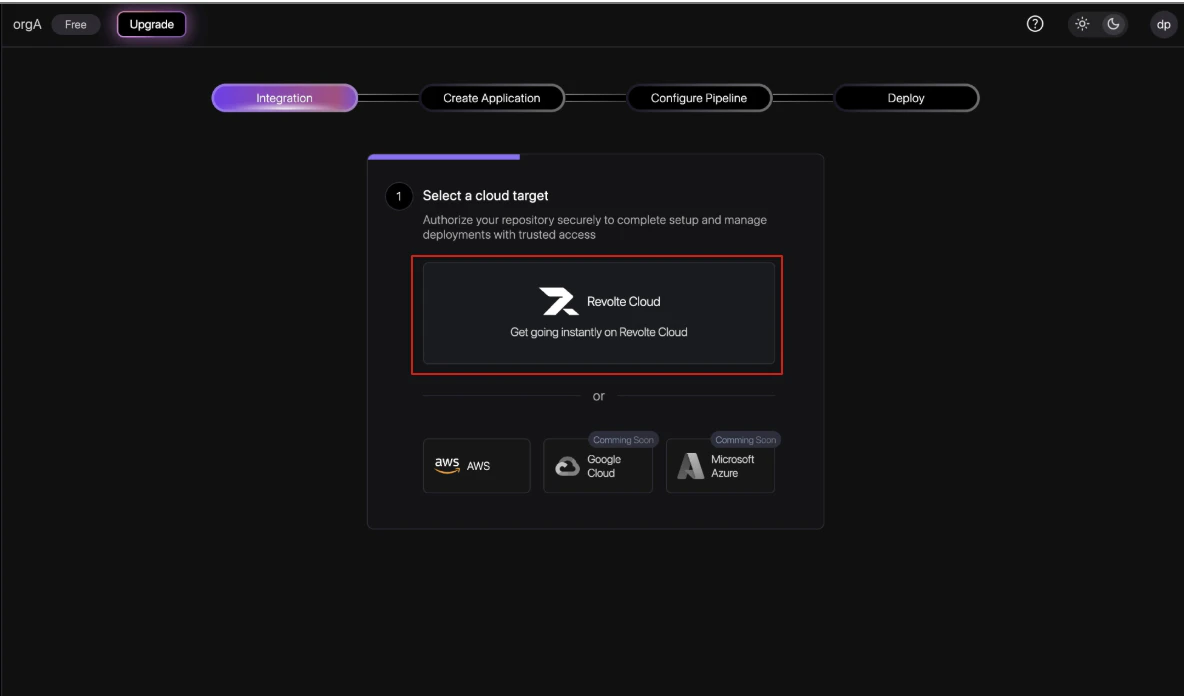
Connect source control
Connect the Git provider that contains the repository Revolte should use for generated work.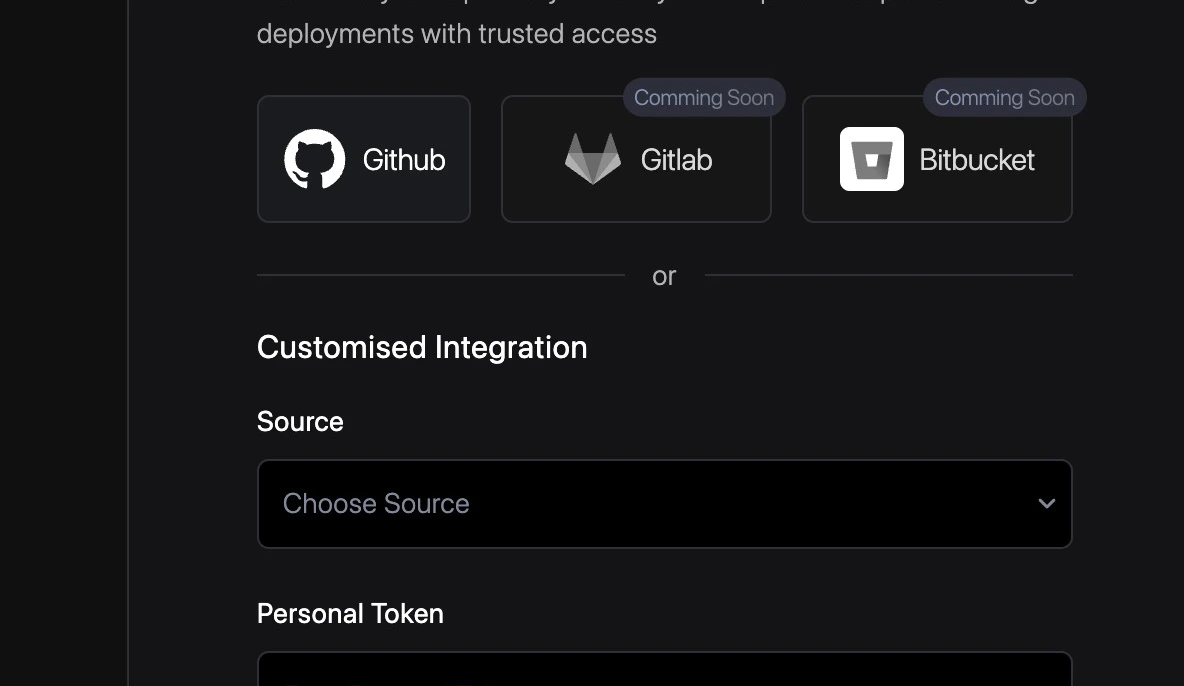
Connect project management
Optionally connect a product management tool so issues or requirements can be linked to build workflows.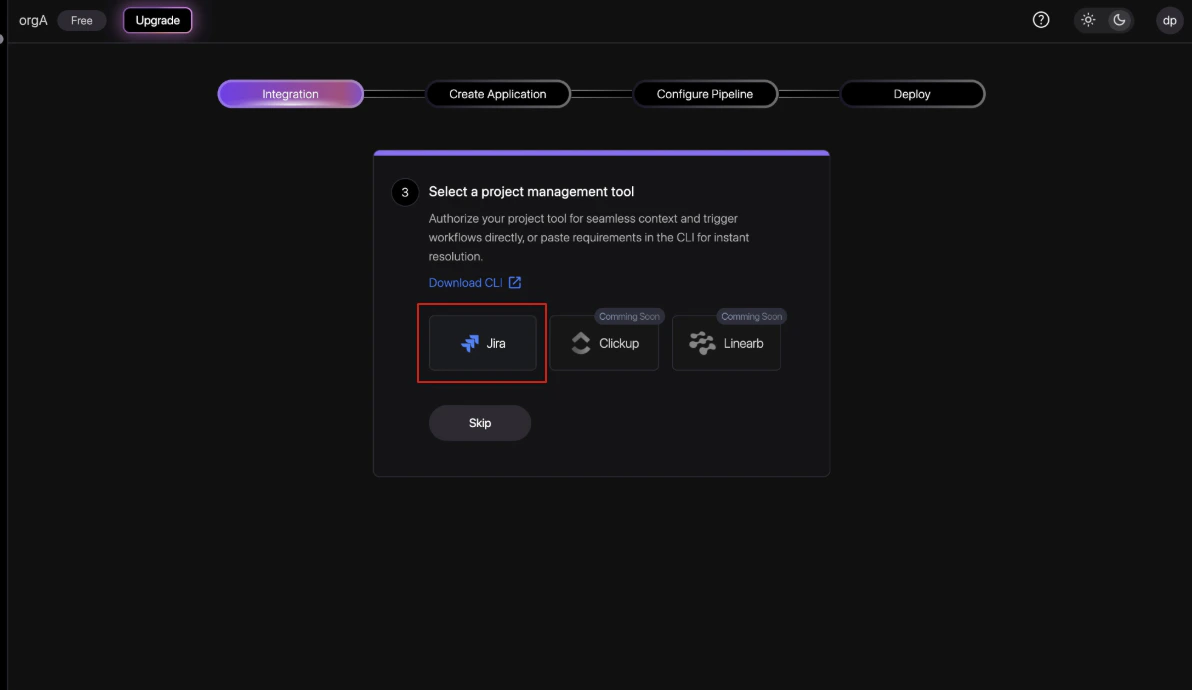
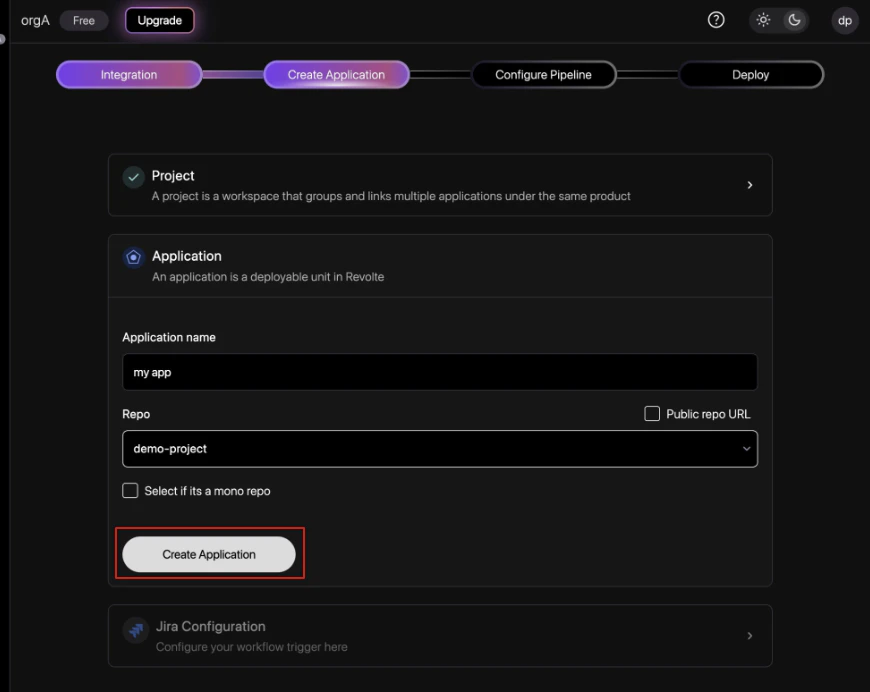
Create the project
Create or select the project that groups related applications under the same product context.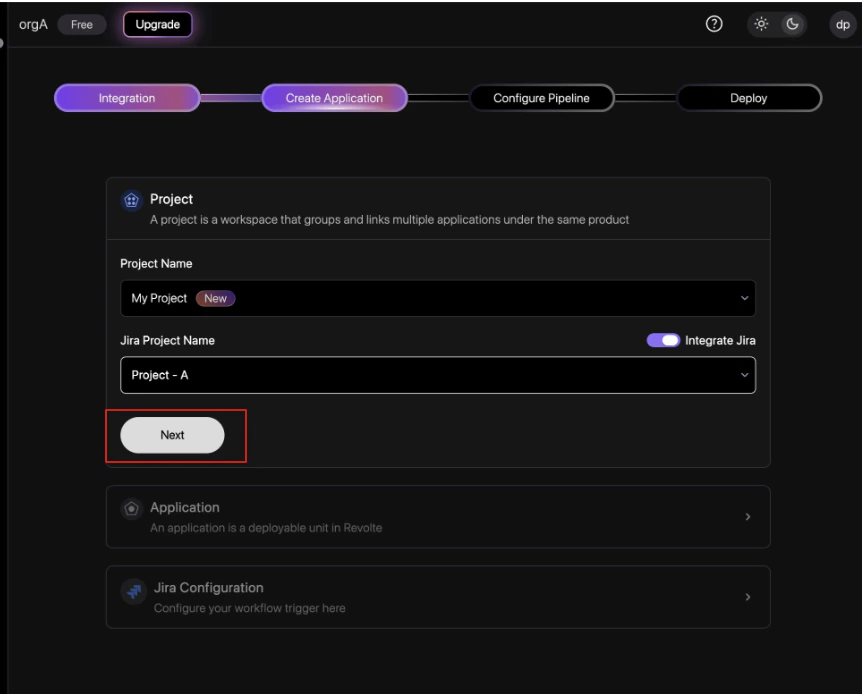
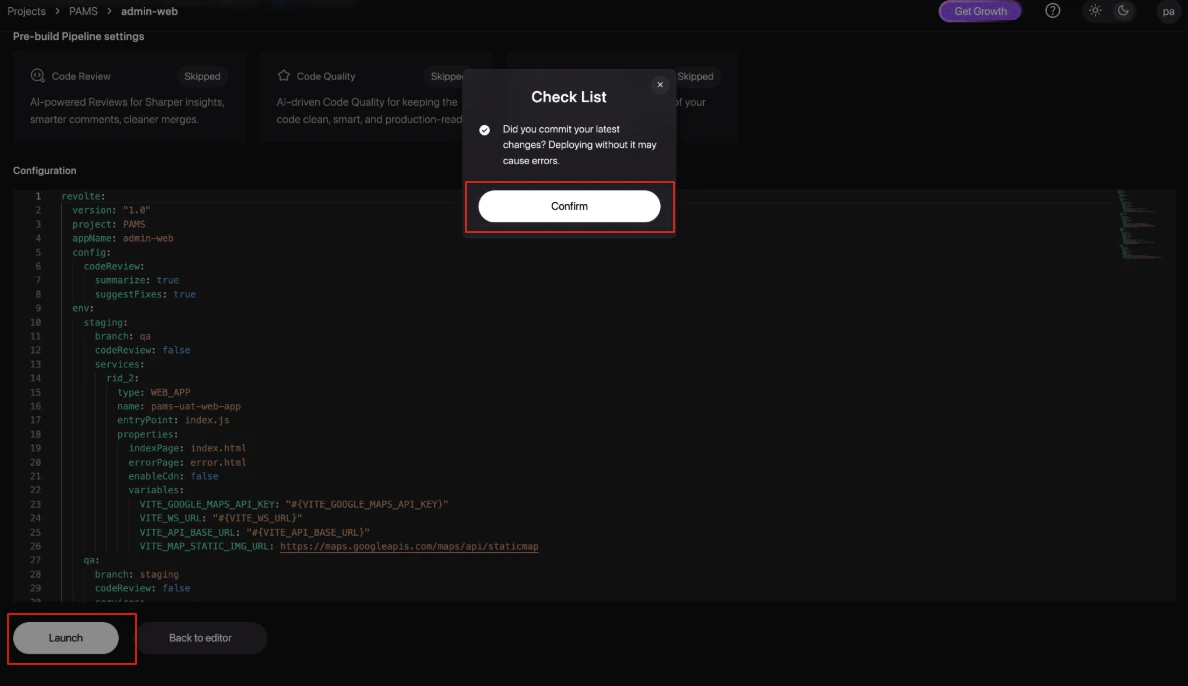
Configure the YAML
Review the generated 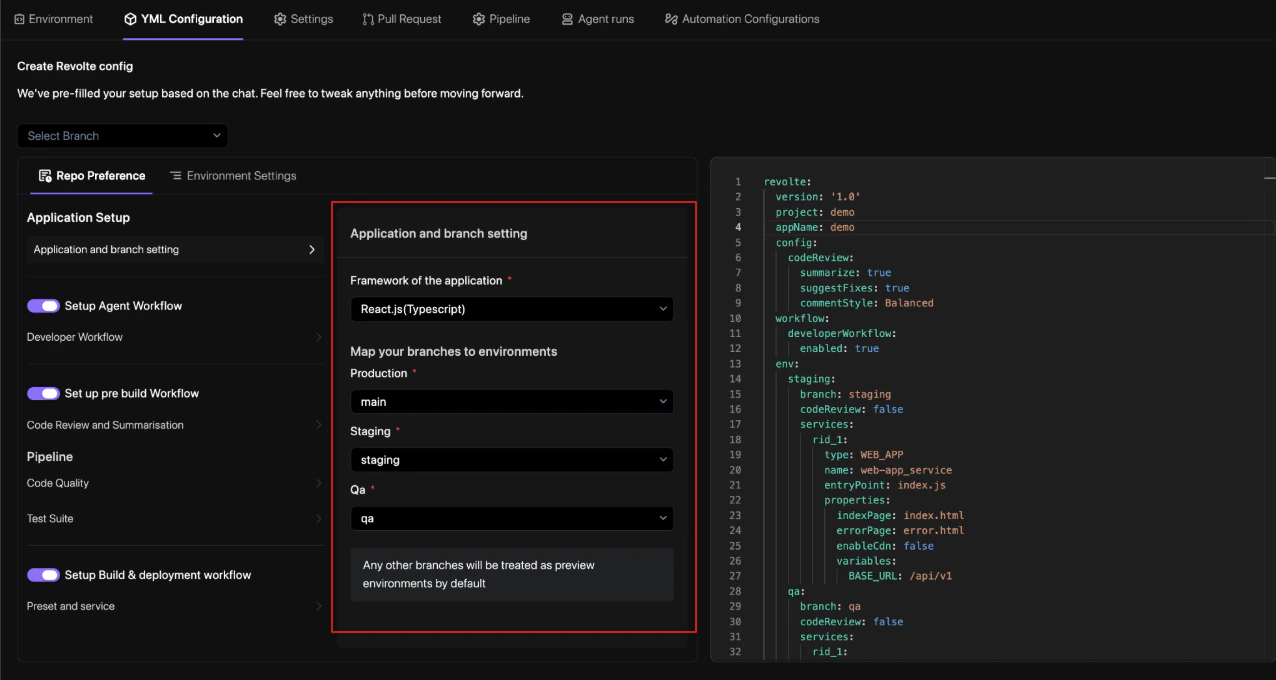
revolte.yml, framework selection, branch mapping, workflow toggles, and validation settings. For a deep dive into all available configuration options, see the revolte.yaml Reference.